

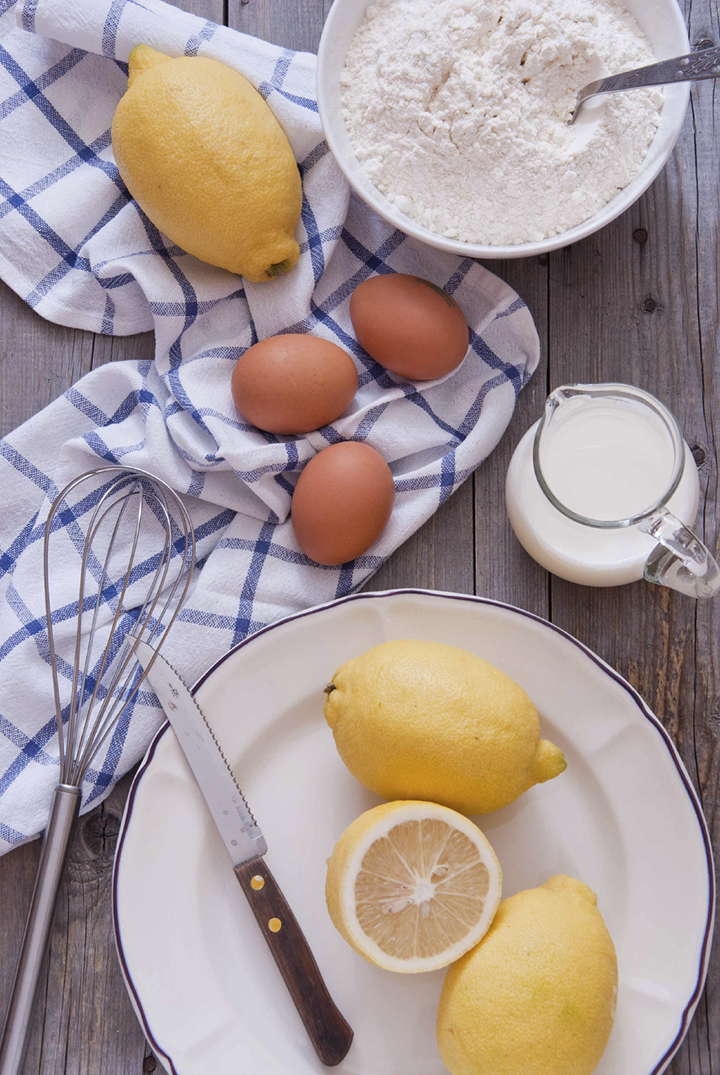
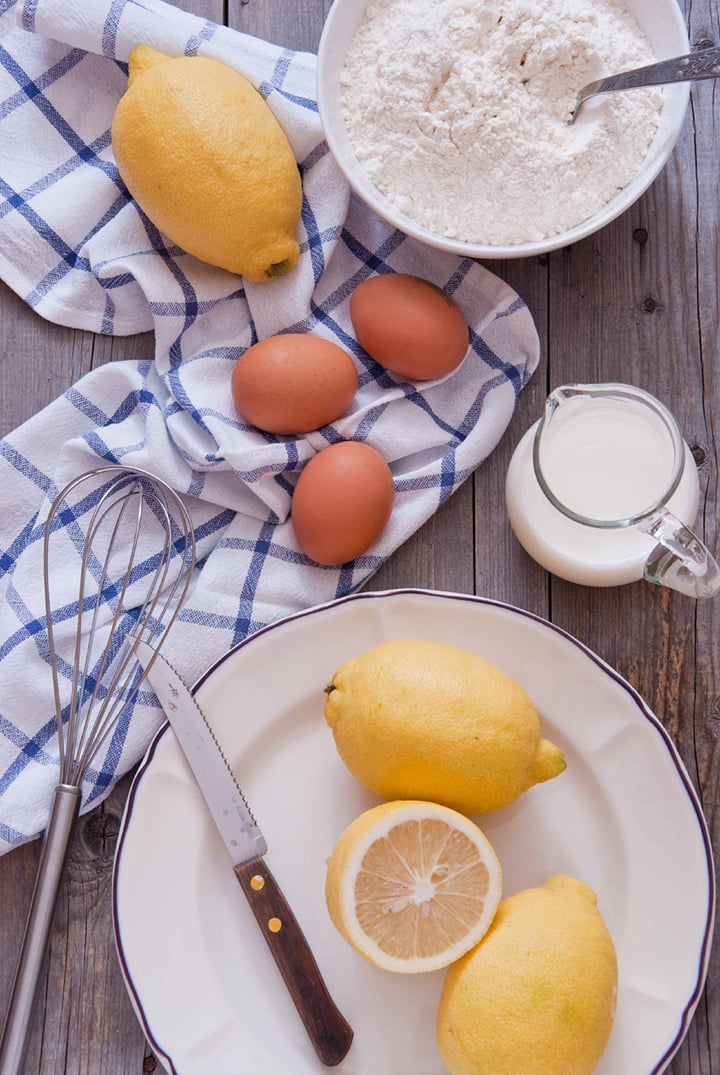
Lemon meringue pie and I go way back. When I was a kid, it was an occasional treat, and when I was a teenager it was something I could scarf down without thinking of the scale. When I had minor surgery in my early twenties, it was all I wanted when I woke up. And now, it’s something I want to know how to make from scratch, so I can serve it to my family or bring it to a party.
I’ve never made a lemon meringue pie, so I asked the test kitchen for help and learned a lot along the way. Today, I am sharing ten tips I learned for making lemon meringue pie along with a recipe developed by the Test Kitchen for this post.
10) Don’t overwork your dough.
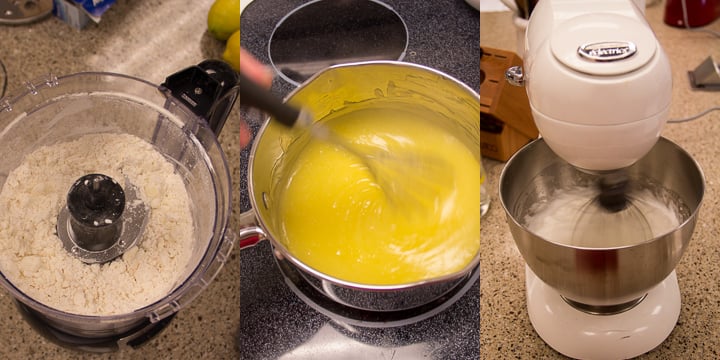
The dough for this pie crust is made in the food processor and only needs to be pulsed gently. It will be ready to take out of the food processor when it forms pea-sized pieces of dough. You don’t want it to form a dough ball before you take it out. Then, chill the dough before rolling it out so the butter doesn’t melt before baking. Pat says this is important because “when baking, the flour mixture sets around the butter and the butter melts to form the flaky layers in the pastry.”
9) Use non-stick aluminum foil when par-baking your crust.
When par-baking (or blind baking) crust, you need to weigh down the bottom of the pie so it doesn’t puff up or bubble. The easiest way to protect your pie from the pie weights or dried beans is to use non-stick aluminum foil facing down on the crust. When it’s done baking, you can pull it right up without any sticking.
8) Let your curd get really thick.
As your curd cooks, it will thicken. Since the transformation from liquid to goop happens so quickly, it’s tempting to take the curd off the stove too soon. Let it thicken to the point where it is a smooth paste. When you add the lemon juice, it will loosen the curd, so you want it to be thick going in.
7) Use the three-bowl method.
It’s very important that not a speck of egg yolk be present in the egg whites to create meringue. The yolks have fat and fats break down meringue. “A tiny bit of oil can make egg whites flop,” reminds Pat. Separate the egg over one bowl, then place the yolk in another bowl. Transfer the successfully separated egg whites to the third bowl one at a time. This prevents one mistake from ruining your whole batch of egg whites.
6) Use fresh eggs.
Older eggs whip up faster than fresh eggs because the whites are thinner and foam more quickly. However, fresh eggs create a more stable meringue because they are less alkaline. They are best for forming foams because they have more ovomucin (a thick protein) that traps air easily; it weakens as eggs age. Using a stand mixer makes the slightly longer whipping time of fresh eggs easier to manage, and the planetary motion of the whisk ensures they foam evenly.
Bonus tip: Chilled fresh eggs make separating whites and yolks easier because the yolks are stronger and more likely to stay intact when the egg is cracked.
5) Add cornstarch to your meringue.
While the mild acid in the cream of tartar helps stabilize the meringue, adding a little bit of cornstarch to the meringue helps it firm up and retain it’s shape because it absorbs extra moisture. This also suppresses weeping. As Pat says, “it helps prevent the ‘beading’ of moisture on top of the meringue after it is cooled.”
4) Don’t overbeat your meringue.
If you overbeat your meringue, you will not be able to make beautiful peaks and valleys with your spatula and it can deflate. Be sure to gradually add in the sugar as soon as your egg whites foam so it has time to dissolve without the risk of overbeating. According to Pat, “the meringue should be stiff and glossy and the sugar should be dissolved. If it breaks down or separates, it’s overbeaten.”
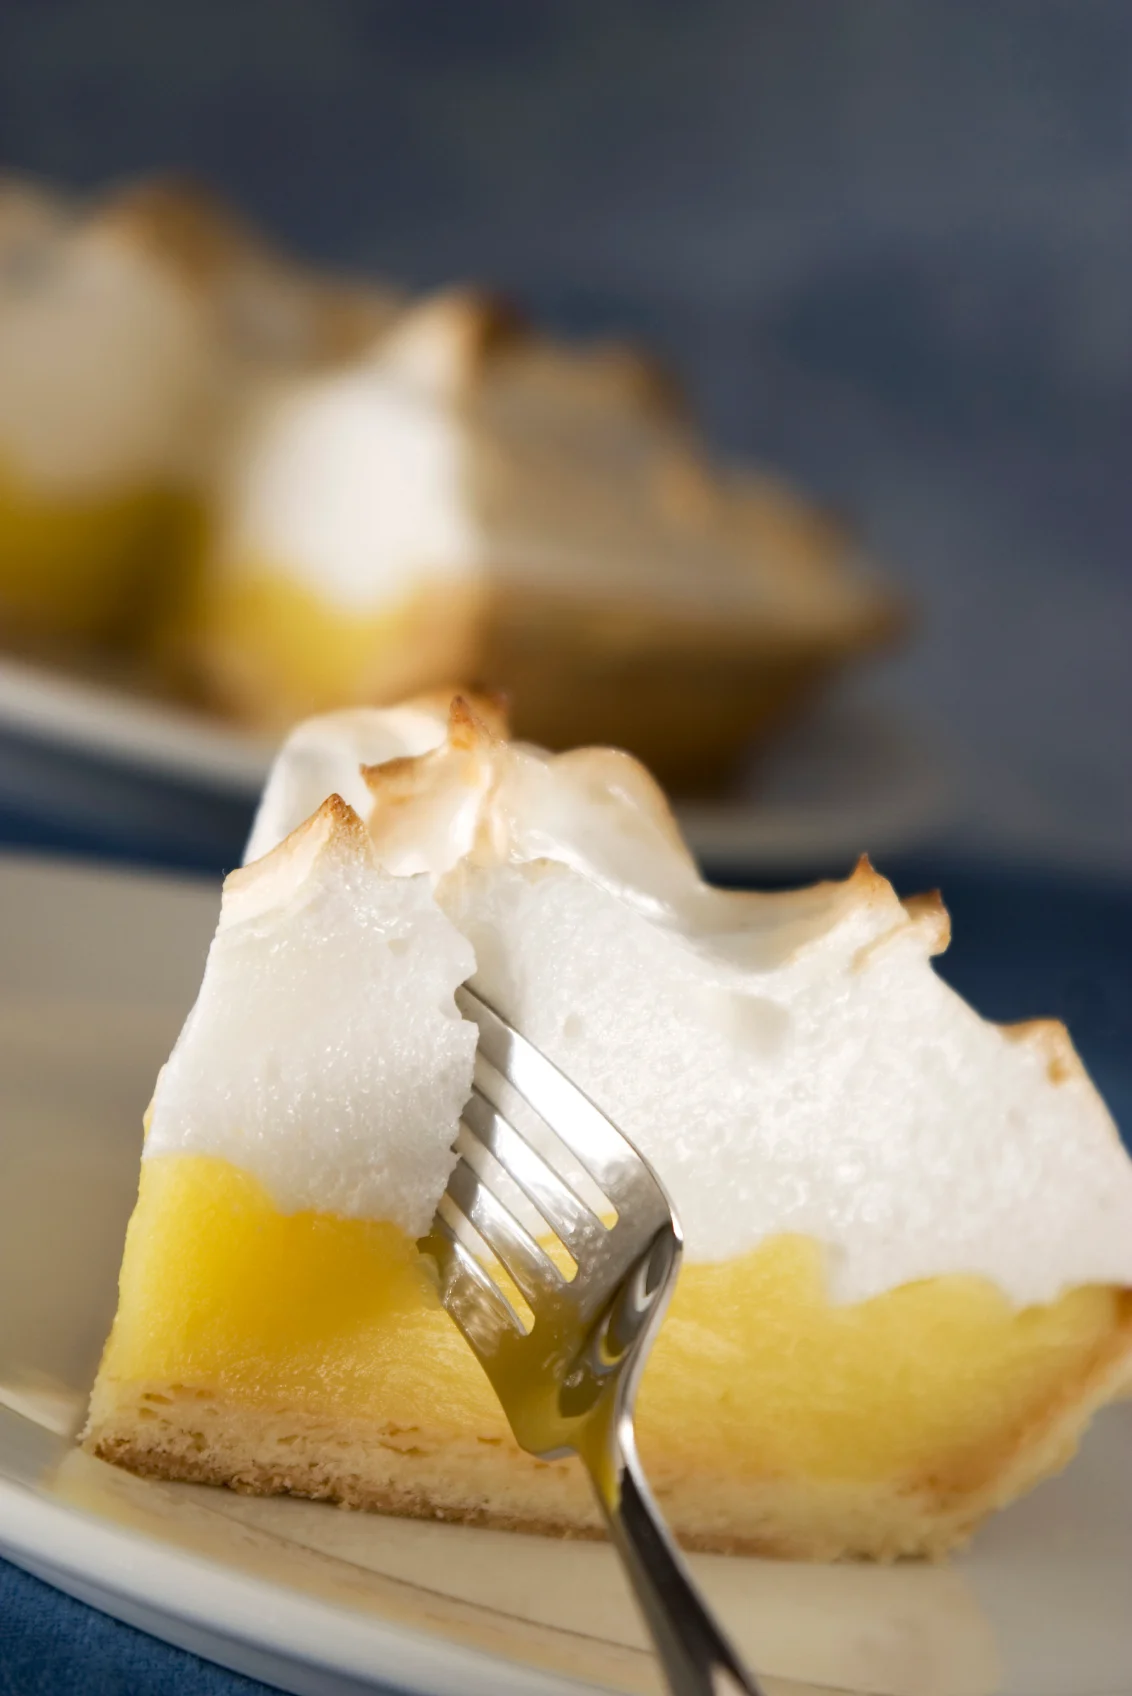
3) Don’t cool your curd.
Weeping is when syrup from the meringue forms in beads or puddles on the surface of the meringue. It can be caused by an over- or underbeaten meringue, undissolved sugar or too high an oven temperature. Another common form of weeping takes place when the syrup weeps from the bottom of the meringue, creating a slippery layer between the curd and the meringue topping. To avoid this, do not cool the curd after placing it in the pie crust. Adding the meringue to a hot or warm curd cooks the meringue from the bottom and helps bond the two layers.
2) If you make a mistake, try again.
Do you want to know where I messed up? See tip #4. I accidentally beat my meringue until it actually stuck inside the balloon whisk on the stand mixer. It no longer created beautiful peaks, and it looked lumpy instead of smooth and glossy. If this happens to you, don’t be afraid to dump it and start over with a clean bowl. It’ll be better in the end to get it right.
1) Don’t cut the pie before it is cool.
I should have written this in all caps; it’s number one for a reason! If you cut the pie too soon, the curd will break and your meringue could fall. How do I know? I did it. “The pie plate must be cool to the touch when you place your hand on the bottom center,” says Laurie. Once it has cooled completely, it’s time to dig in. You may even need to have seconds.
Vegetable Ragout
Ingredients
Instructions
- Place eggplant cubes in colander; sprinkle with kosher salt. Set aside.
- Spray slow cooker crock lightly with cooking spray.
- Add onion, zucchini, squash, peppers, tomatoes, tomato paste, garlic, salt, hot sauce and black pepper to crock.
- Rinse eggplant and pat dry; add to crock.
- Stir all ingredients. Cover and cook on HIGH 2 1/2 hours or LOW 4 1/2 hours until vegetables are cooked.
- Mix in lemon juice, basil and parsley 15 minutes before serving.
Notes
We made this celebration of the summer harvest in the Stay or Go® 5 Quart Programmable Slow Cooker. The vegetables cook only for the necessary amount of time and the Stay or Go feature makes it easy to tote this to any cookout or potluck.
More tips from the Test Kitchen:
https://blog.hamiltonbeach.com/8-favorite-food-processor-recipes/
https://blog.hamiltonbeach.com/how-to-protect-a-pie-crust-from-burning/
Thanks, it looks wonderful!
Thank you, John. We’re glad you stopped by. Let us know how your next pie goes!
These tips are amazing! Thanks so much! I will be trying these out for my Thanksgiving pie this year!
Thanks, Kristy. I hope you find them helpful for your lemon meringue this year.
Why does the meringue get tacky after pie is refridgerated ?