


 Kris Jarrett of Driven by Decor is a home design and lifestyle blogger located just outside of New York with her family. She created her blog to share her DIY adventures, home tips and functional, affordable decorating ideas. Kris can usually be found hanging out with her sweet rescue dog or drinking a hot cup of coffee while she strolls the flea market, but she’s also on Facebook, Twitter, Pinterest and Instagram.
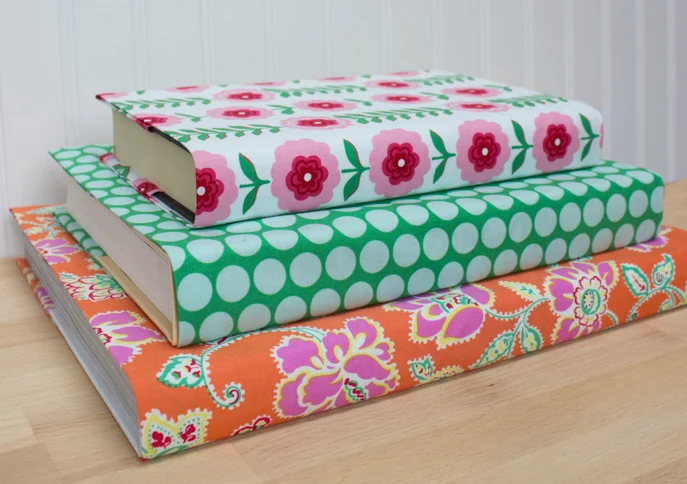
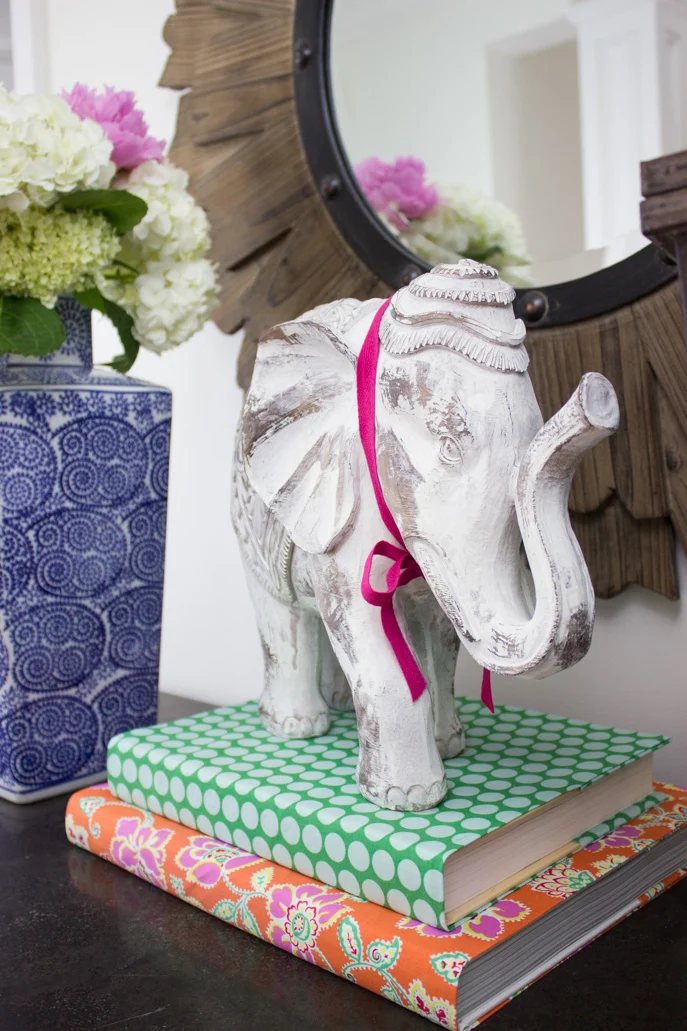
Colorful books are my favorite decorative accessories, making their way into every single space that I design. Whether it’s a pretty cookbook displayed on a kitchen shelf, some oversized art books stacked on a living room coffee table, or a collection of favorite hardcovers on a home office bookcase, they’re an easy way to add interest and style to any room.
But what if your books don’t have the prettiest of covers? I have a super easy way to make book covers out of your favorite fabrics. The covers stay on your books well but are also removable so that you can change them out with the seasons and the design of your space. And there’s no sewing or messy glue involved!
Supplies:
- Fabric (medium-weight fabrics you can’t see through work best)
- Tape measure
- Fabric scissors
- 5/8” roll of fusible web (such as Stitch Witchery)
- Durathon iron
Directions:
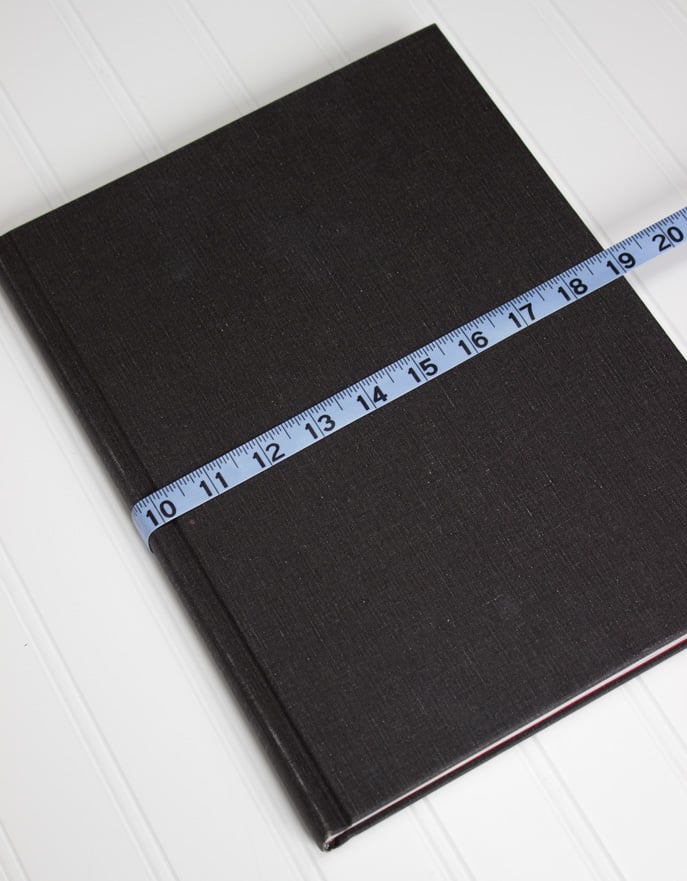
Measure the height of your book and the “wrap-around” width of your book from the back to the front with the book closed.
Cut a piece of fabric that’s 1 ½” taller than the height of your book and 8” wider than the wrap-around width of your book. Iron your fabric well. An iron with a lot of steam power such as Hamilton Beach’s Durathon iron works best for getting out stubborn fabric wrinkles.
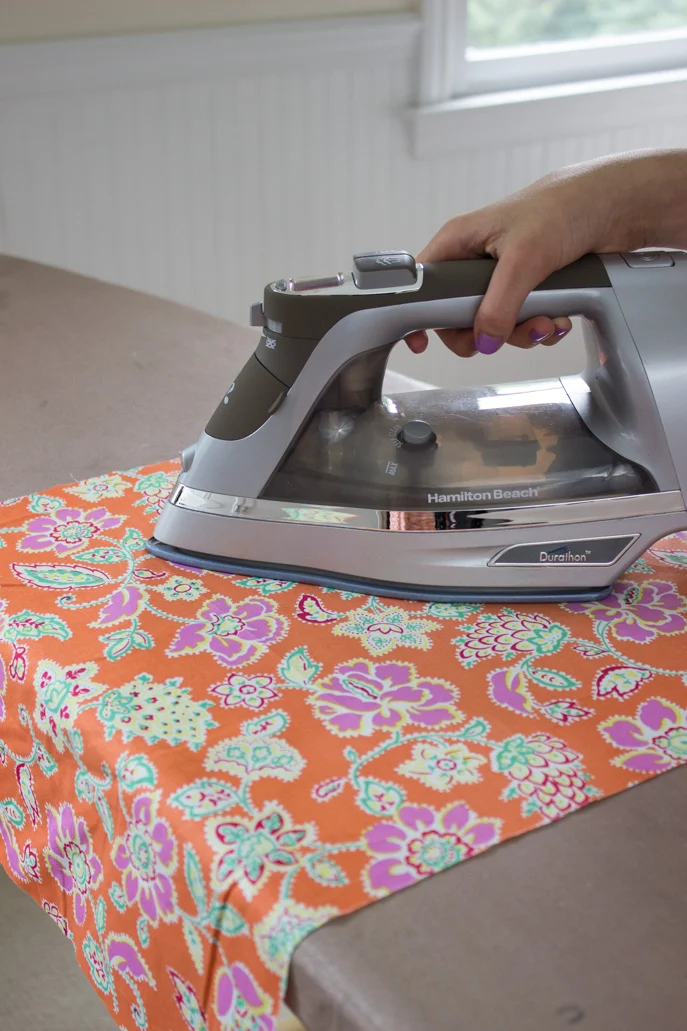
Lay your fabric piece on an ironing board with the unfinished side of the fabric facing up. Iron a ¾” fold of fabric along the length of both the top and bottom edges of the fabric.
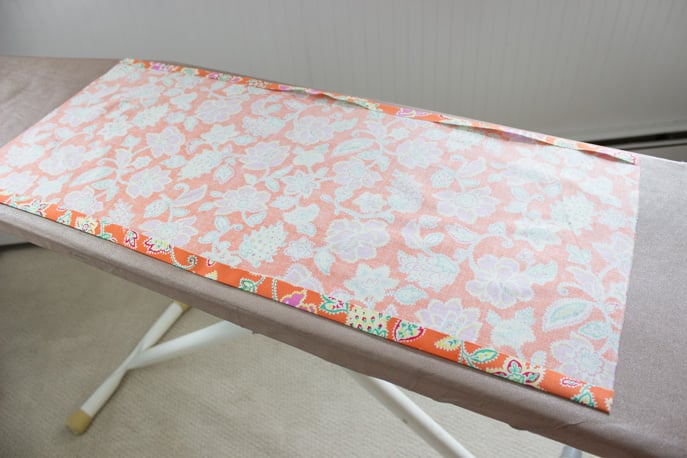
Once both edges are ironed, your fabric piece will look like this:
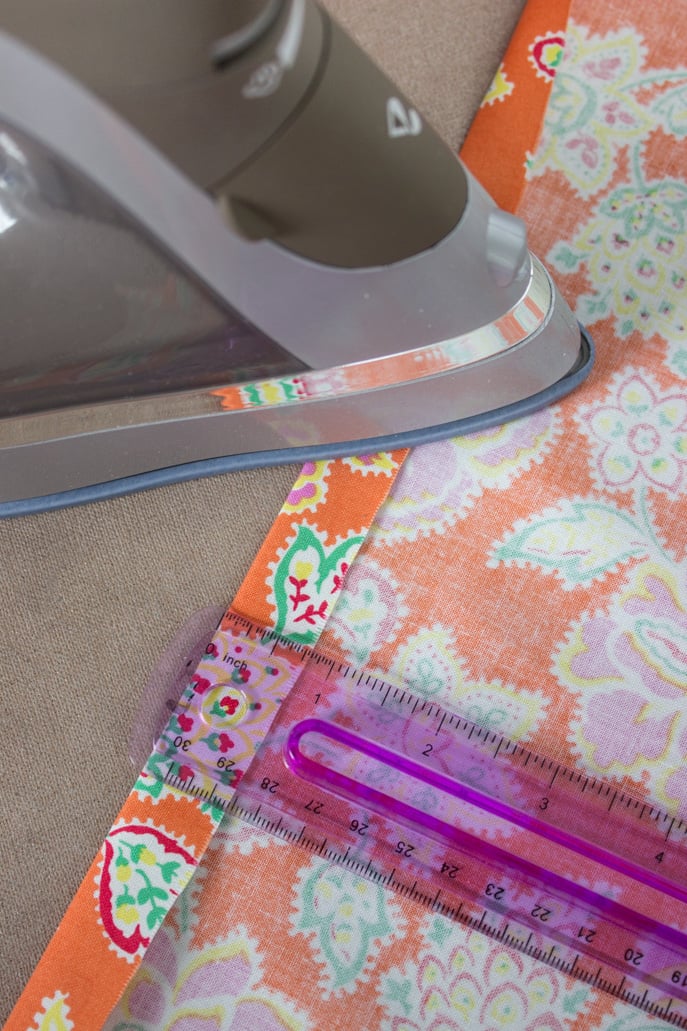
Next, take a long piece of fusible bonding web and place it in one of the fabric folds that you just created starting 4” in from the end of the fabric piece and ending 4” in from the other end of the fabric piece:
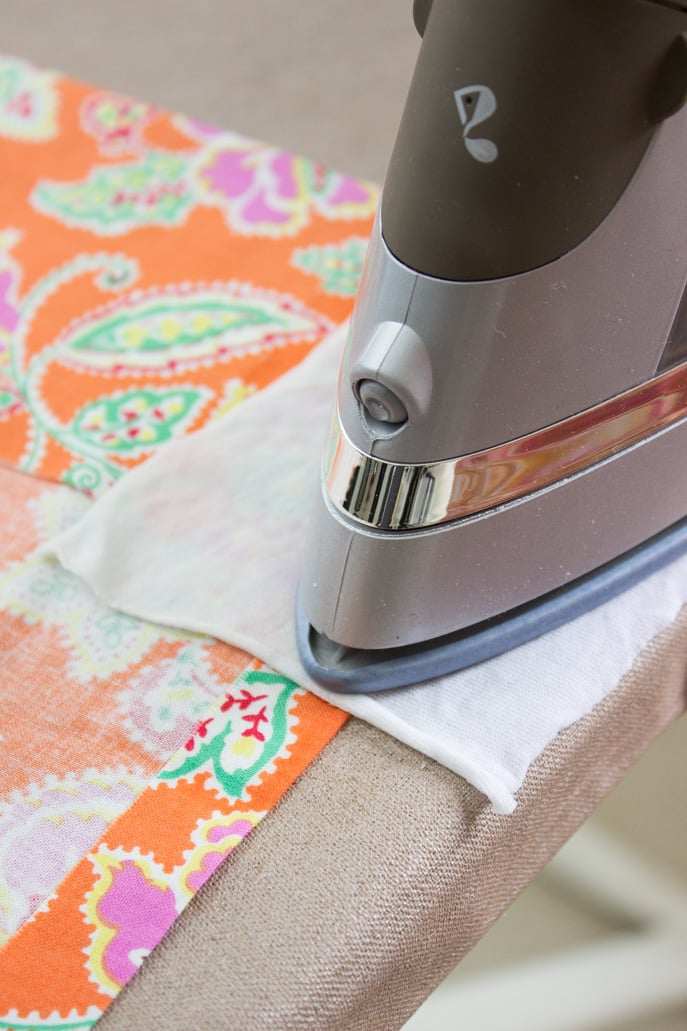
To activate the fusible bonding web, simply place a damp cloth over the folded edge that has the bonding web tucked inside and place your Durathon iron (set on the “wool” setting) on the cloth, holding for about 20 seconds. Repeat along the length of the edge until you have a beautiful finished fold. Then repeat the same steps to create a finished fold along the other edge.

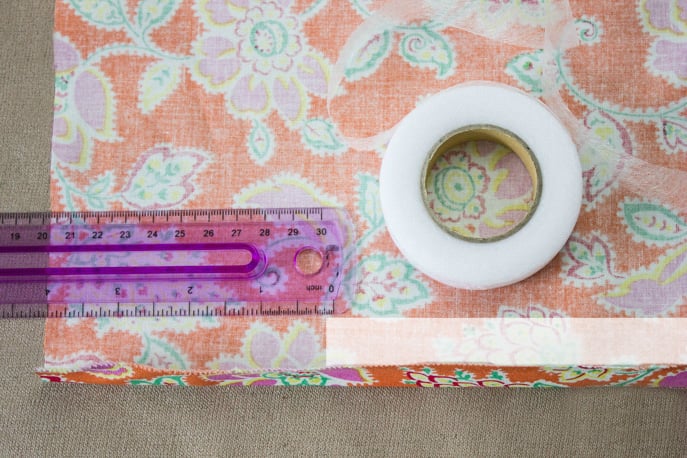
The final step is to create pockets on the ends of the fabric piece that will wrap around the ends of your book and keep your fabric book cover securely in place. Simply fold over your fabric 4” from the end, place a 4” piece of fusible bonding web along the edge inside of your fold, and fuse the fabric pieces together using the same ironing technique as before.
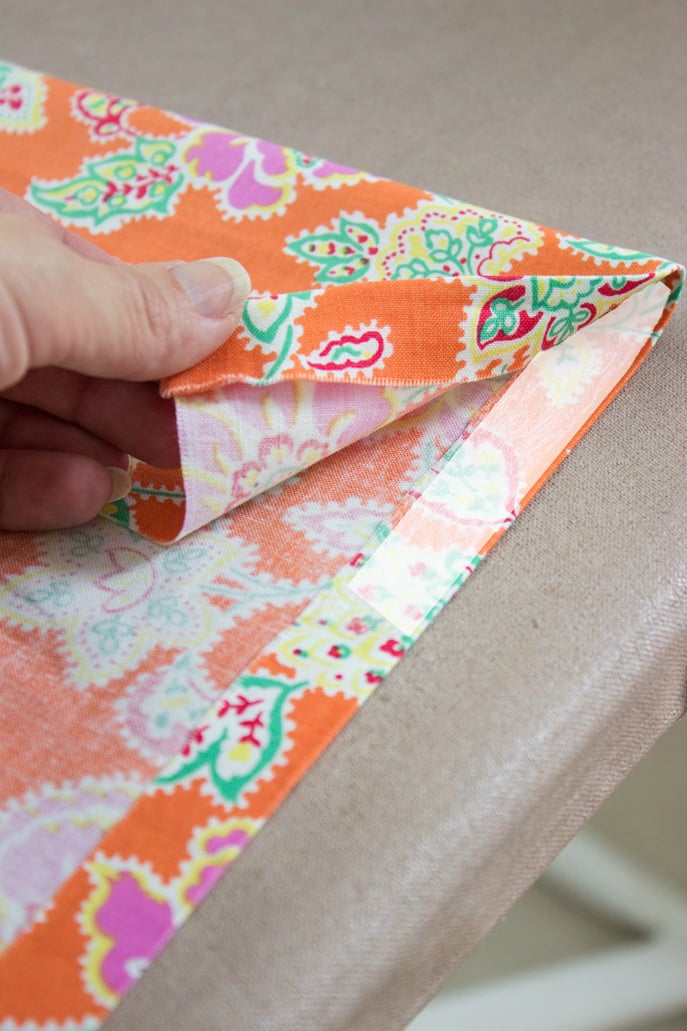
You will need a total of four 4” pieces – one for the top of the fold and one for the bottom of the fold on each end of the fabric.
The finished ends of your fabric book cover will now look like this:
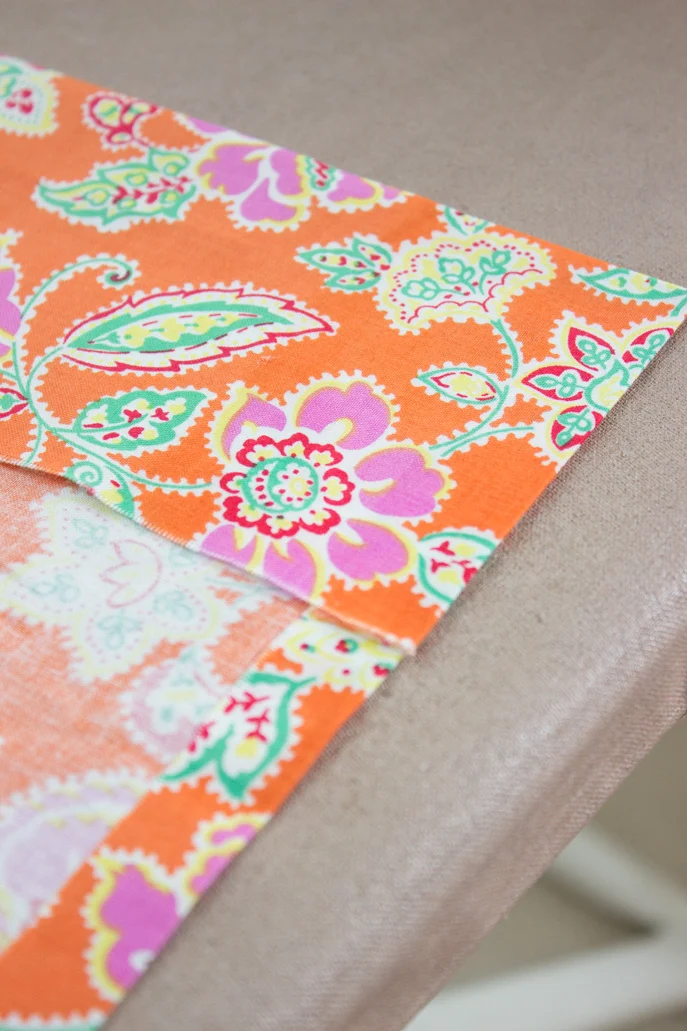
Now just insert the ends of your book into your beautiful new fabric cover!

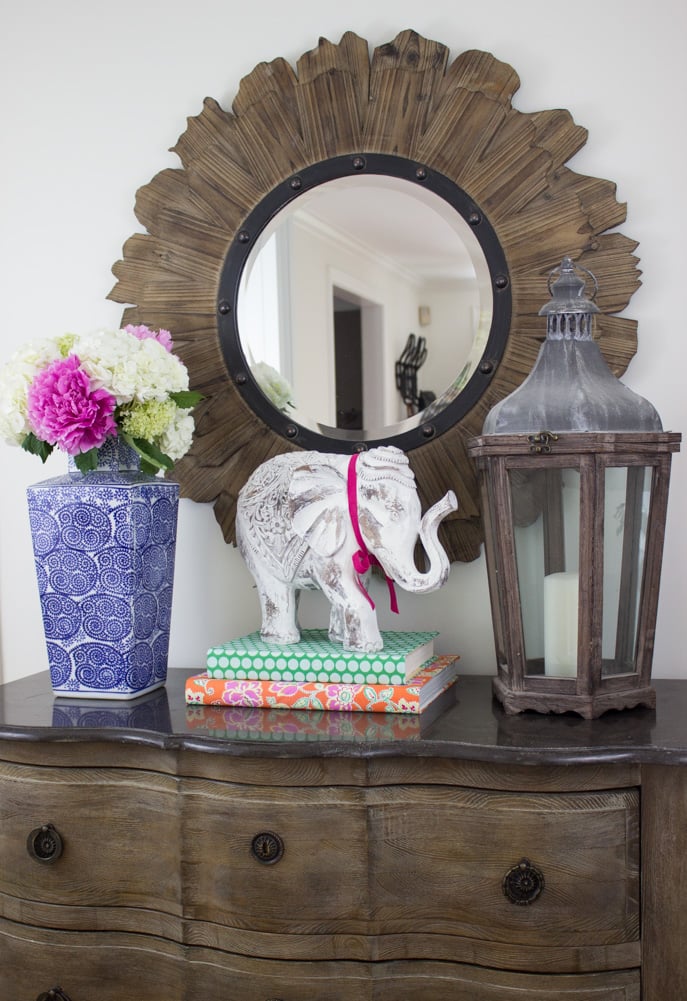
The only thing left to figure out is where in your home you’re going to display your now-beautiful books! One of my favorite spots is on the chest of drawers in our entry – I love the bright pops of color for summer!
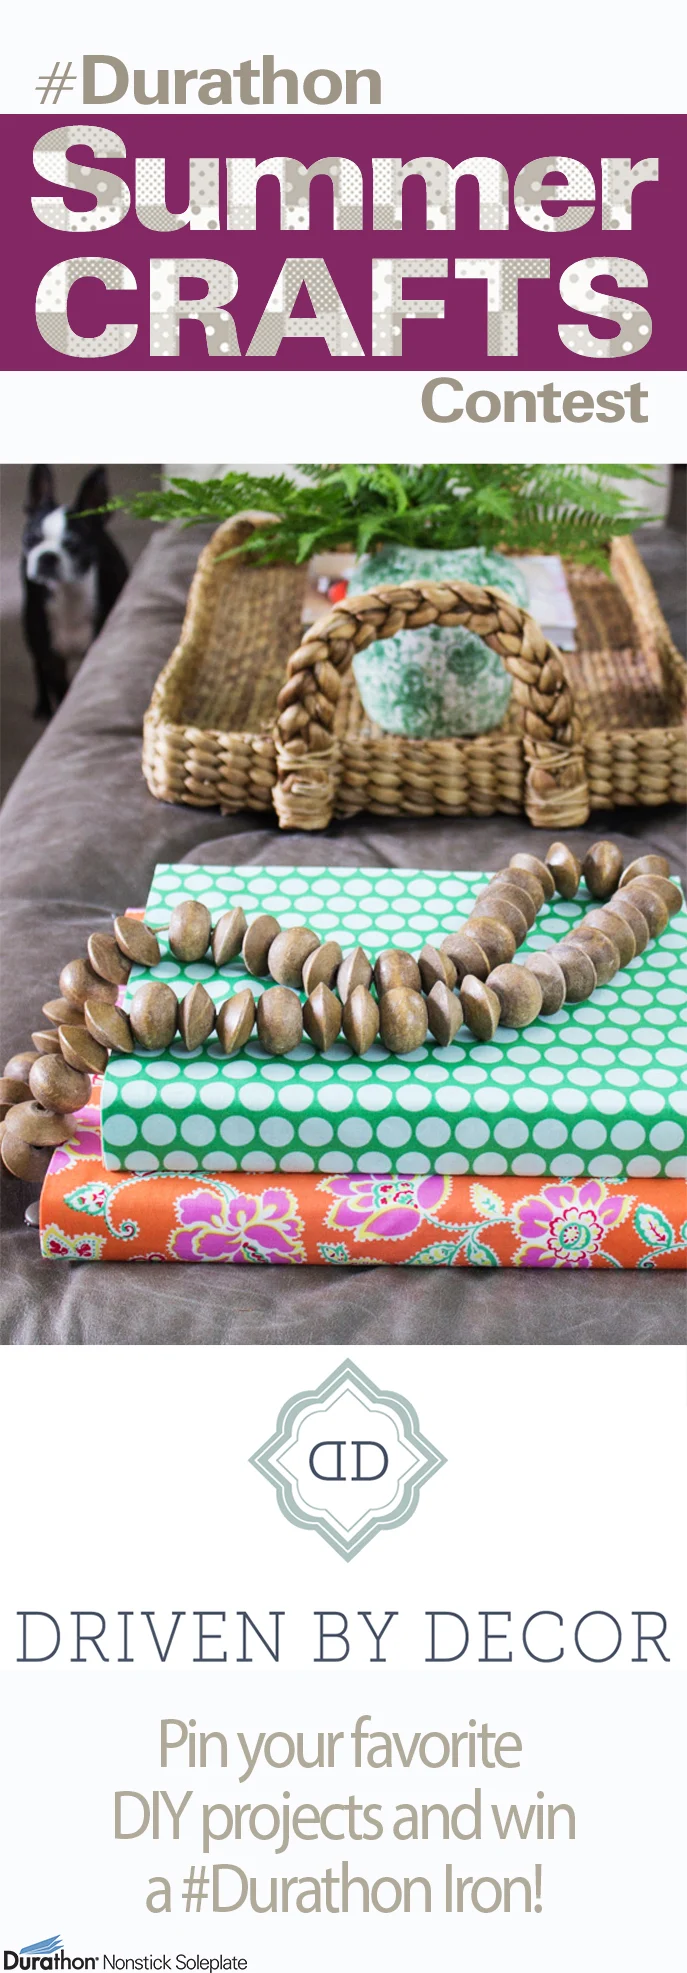
I also love using a few colorful stacked books on the ottoman in our living room. They liven up this neutral space and look great with something as simple as a string of wooden beads draped on top.
Fabric book covers also make beautiful additions to thoughtful gift baskets. For example, cover a baby book with a sweet, pastel fabric as part of a baby shower gift, or cover a newlywed’s scrapbook with white fabric, ribbon and wedding bells so a bride can collect memories with her new husband. Try covering that popular new cookbook everyone’s been raving about as part of a hostess gift, and include some new mixing spoons. These are just a few fun ideas to turn this quick project into a heartfelt present for just about anyone.

So the next time you find your home in need of a fresh pop of color, or you’re putting together a gift for a special friend or family member, you’ll have a new, go-to idea up your sleeve!
Lovely. Nostalgic for me. My mother sewed book covers for me when I was in elementary school many many years ago. What’s old is new again. Who knew it would become “no sew?” Clever!
Thank you! I can’t wait to try this. One question, are the book covers removable if I’d want to switch them up later on? Thanks!
Oops I forgot to check “notify me” if someone replies to my comment!
Where are those awesome beads from? I am in love! Thanks!
Just made a beautiful cover for my “She Reads Truth Bible”, it is beautiful and functional. I added 2″ instead of 1.5″ so I could fold down to the 1″ on each side of my ruler for my book height measurement. It made it easier to see the 1″ on the ruler, and I was able to add faster!
Just wanted to make a note from an avid Pintetester….your directions are beautifully and understandably written which is a rare find. Keep up the good work!