

Weddings are one of my favorite life events. I enjoy all the aspects of a wedding. Luckily, since my husband is a minister, we get to attend more weddings than most. I especially like how each wedding is similar yet unique. A bride’s personal style can set an average ceremony apart from the rest. I always love seeing that shine through from the initial seating of the grandparents all the way to the reception. One wedding decor trend that I have noticed over the years is the use of burlap. Who would have ever thought burlap could be so lovely?! I can understand why it is so popular. It’s relatively inexpensive when compared to other wedding fabrics, yet it can be dressed up easily with lace and beads.

In the spirit of weddings and burlap, today I’m sharing a quick Burlap Ring Bearer Pillow tutorial. The best thing about this project is that it is fully customizable. You can make it smaller, change the fabric choice, leave out the fabric all together, add more lace, change the ribbon…whatever you want to do to accent your wedding and your own personal style!
Supply List:
- Burlap square, 8” by 8”
- White muslin square, 8” by 8”
- 4” wide lace, 16” long and cut in half
- Coordinating fabric, cut to 6” by 16”
- Leather cording
- Pillow fiberfill
- Sewing machine
- Matching thread
- Scissors
- Straight pins
- Hamilton Beach Durathon® Iron
Begin by ironing all the fabric pieces. Use the Hamilton Beach Durathon® Iron for the best results. And, yes, you can iron burlap! Be sure to use the steam setting on the Durathon® iron and keep the iron moving over the fabric.

Fold the coordinating fabric lengthwise, right sides together. Pin it in place. Sew down the long edge with a ¼” seam allowance. Do not stitch the ends closed.

Turn the tube right side out. Use the Durathon® iron to iron the fabric, making sure the seam is in the back.
Cut the tube in half.
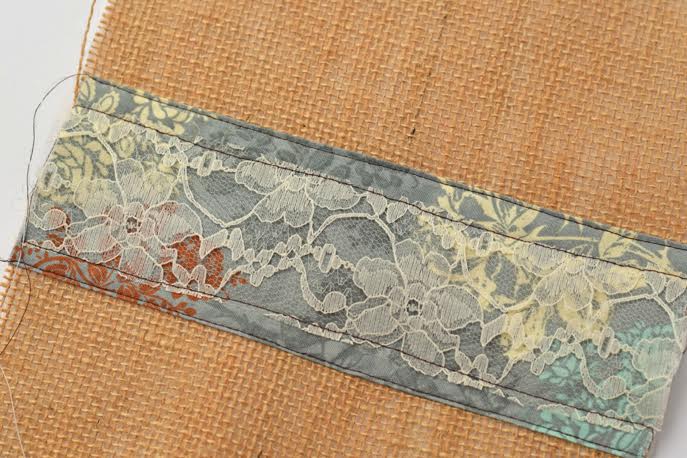
Now layer each side of the pillow. For the front side, lay the white muslin piece down first. Top it with the burlap piece. Place one of the fabric tube pieces in the center. Lay a piece of lace in down the middle of the fabric tube. Pin all the layers together.

Optional: To keep the fabric and lace from being loose on the pillow top, sew close to the edge of the lace on both sides. Since the ring is on this side, I wanted to make sure everything was completely secure!

Take the piece of leather cording and stitch it in the center of the lace. This will be what holds the ring.

To prepare the opposite side of the pillow, layer a piece of white muslin, a piece of burlap, and the remaining tube piece. Pin.
Place the two pillow pieces, right sides together, and pin. Be sure that the leather cording does not get caught in any of the pins.
Using a ½” seam allowance, sew all around the pillow, leaving 3” opening for turning the pillow.
Clip the corners and turn the pillow right side out.

Fill the pillow with fiberfill. Do not overfill the pillow.

Stitch the opening closed.
What else would you add? Beads? Feathers? The possibilities are endless!

Melanie East is the author of It Happens in a Blink, a space where she shares crafts, DIY, recipes, and home projects. Her inspiration for many of her projects come from nature, caffeine, and her triplet preschool aged boys. While she writes about many topics, her favorite projects to share are those that inspire others to live out their calling. Melanie can be found on Instagram, Twitter, Pinterest, and Facebook.
Comments