

In the summertime (or anytime for that matter), it’s nice to take a break from all the screens and play a game the old fashioned way. Checkers is a classic and it’s easy to make your own set with some felt and fabric. You can even customize your game with your favorite colors and designs!
Even though we’ll be making this checkers set with felt and fabric, it’s completely no-sew thanks to fusible interfacing and a Durathon® iron.

For best results, I recommend reading through all of the instructions before you begin. Now, let’s get started!

Supplies:
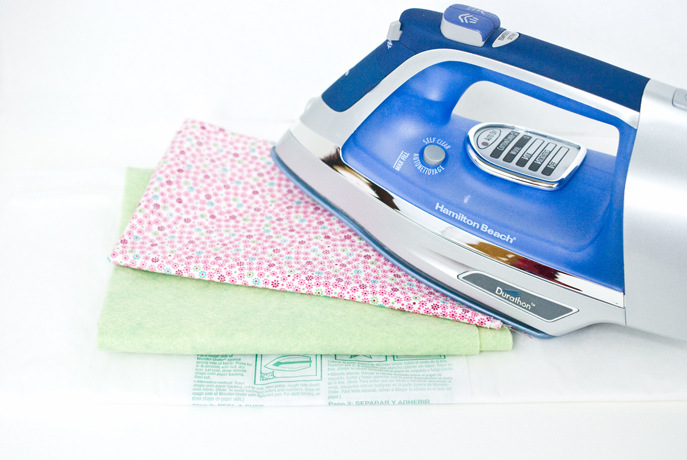
- 12in x 18in felt (wool or wool blend is best)
- 1/4 yard quilting cotton fabric (I used floral, but any will do!)
- 1/4 yard paper-backed fusible interfacing
- Freezer paper
- Durathon® iron
- Scissors
- Ruler
- Rotary cutter and cutting mat (optional, but helpful)
- Tracing wheel or hera marker
- Felt and Floral Checkers Template PDF

Choose either the heart or the crown design from the PDF for your checkers. Trace 12 circles with the design onto the paper side of a piece of fusible interfacing.
You may want to trace 12 of the center design at the same time. There’s a chance that you won’t need all of them if you cut carefully in a later step, but if you trace them now it’s easy and you’ll be prepared.

Set the iron to the cotton or wool setting (if using wool felt).
Iron the traced interfacing onto the wrong side of a piece of the fabric. Follow the interfacing’s instructions for the best results. Make sure you have the paper side up, because you don’t want to set the iron on the interfacing side!

Cut out the circles and the shapes from inside the circles. If you fold them in half gently, you can cut just one half of the shape.
With any luck, you’ll be able to use the hearts or crowns that come out of the circles. If they didn’t come out very well, just cut out the extra shapes you traced.
Peel the paper backing off of the pieces and place them on the felt fabric side up. Press them with the iron.

Iron a piece of fusible interfacing to the back of a piece of fabric. The size should match the felt piece with the circles.
Remove the paper backing and iron the fabric to the back of the felt.

Cut out around the circles. You now have the checkers for one side of the board.

Trace 12 circles (without the shape inside) onto the paper side of the freezer paper. Iron the paper onto felt with the shiny side down.

Cut out the circles and peel away the paper.

Peel the paper off of the small shapes and iron one to each of the 12 plain felt circles. You now have the checkers for the other side of the board.

To make the board, iron an 8in x 8in piece of fusible interfacing to the back of a piece of fabric of the same size.
Cut the piece into 32 1-1/4in squares. It’s easiest to do this with a rotary cutter, ruler, and cutting mat. However, a template piece is included in the PDF if you are using scissors.

Cut a 12in square piece of felt. Mark a 1-1/2in grid on the square with a tracing wheel or hera marker.

Remove the paper backing from the fabric squares. Center a fabric square in every other space on the felt board. There will be room around the square, but the marked grid will help with the spacing.
Press the squares with the iron. Don’t move the iron around, or you may move the pieces. Instead, press, lift, and repeat until all of the pieces are adhered.

Your board and pieces are all ready for a game of checkers!

These games don’t usually last too long, but if you do need to move your game or set it aside for a while, the grippy quality of the felt and fabric means the pieces won’t slide very easily.

Of course, one of the best parts of playing checkers is when your piece reaches the other side and you get to call out “king me!” Normally this involves stacking a second piece on top to make it a larger piece that can move backwards. In this version, you flip the piece to show the special shape.

Take a few minutes to share a game with your child, encourage your kids to play a game together, or enjoy a round with your summer sweetie. Happy crafting!


Mollie is a 30-something crafter and illustrator of cute things. When she’s not creating for Wild Olive, she’s crafting posts for About.com, Handmade Charlotte, and Hello Bee. Follow her on Twitter, Pinterest and Flikr.
I would love to win 🙂
I want to win thanks