


Jennifer Griffin is the author of popular home design and DIY blog Dimples & Tangles, which she named for her two children. She’s a self-taught crafter, designer, mom and wife living in Edmond, Oklahoma. She strives to create a welcoming home environment and enjoys finding hidden treasures in thrift shops. You can find Jennifer in line for milkshakes at Braum’s or on Facebook, Instagram, Pinterest and Twitter.

Gingham is certainly hot in the fashion world this season. I love decorating and decided I wanted to incorporate some of the pattern into my home. Our family does a good deal of entertaining, and having tired of our usual table linens, I thought a gingham tablecloth would be a perfect new addition. Now, I know red and white check tablecloths have been around forever, but a different color combination of that same pattern opens up a whole new world of chic table setting options.

It’s easy to make your own table linens. If you can measure, iron, and sew a straight line, you can make your own tablecloth. In fact, you could make one without being able to sew. Here’s what you’ll need.
Supplies:
- Fabric of choice, yardage varies by individual table size (60″ width is best, pre-washed to avoid mistakes due to shrinkage)
- Durathon iron
- Ironing board
- Tape measure or yardstick
- Fabric scissors
- Straight pins
- Seam gauge or measuring tape
- Sewing machine
- Matching thread
- Fusible web tape (if you want to make it no-sew)
See a detailed guide to using iron-on fusible web tape at DIY No-Sew Curtains Tutorial.

For many of my DIY projects, I consider my iron to be just as important a tool as a hammer or screwdriver. Ever since I took Home Economics in 8th grade, I’ve learned the importance of pressing the fabric as you go during sewing projects.

Directions:
I began by laying the fabric out on the table to see how much would hang over the sides. On my table, I had about 9” hanging over on each long side, so I cut the length to allow for a 9″ drop on each far end. All tables will vary, but that made the starting measurements for my tablecloth 58″ x 94″.

Next, I used a seam gauge to measure a ½” hem along each side, turning each edge towards the wrong side of the fabric. This is where the Durathon iron is an invaluable tool for any sewing project; as I measured, I pressed that hem into place.

Then, turn your hem up one more time, so you have a finished edge, this time measuring 3/4″, and pressing with the iron as you go. This step makes it so much easier to put in a hem, and gives a more professional-looking finished product.

At this point, if you would like to finish your tablecloth without sewing, you could use some fusible web or adhesive hem tape inside the hem and press it closed with the iron, following the directions on the hem tape package. I expect to get heavy usage out of this tablecloth, and wasn’t sure how well the hem tape would hold up through multiple washings, so I decided to stitch the hem of the tablecloth with my sewing machine.

If you’re sewing your hem, secure it with straight pins after your hem is turned up and pressed with your iron, so it is flat and ready to stitch. Then, head to your sewing machine.

Stitch a straight seam on the wrong side of the fabric, close to the fold of the hem so it’s secure. Mine was stitched at about 5/8″ from the bottom of the hem, but this can be varied if desired. Be sure to remove the straight pins before sewing over them.

To finish, press your tablecloth one more time after the stitching is finished along all the edges. I like to use lots of steam, and the Durathon puts it out quickly! You’ll have a crisp, sharp edge that will make your tablecloth look fabulous!


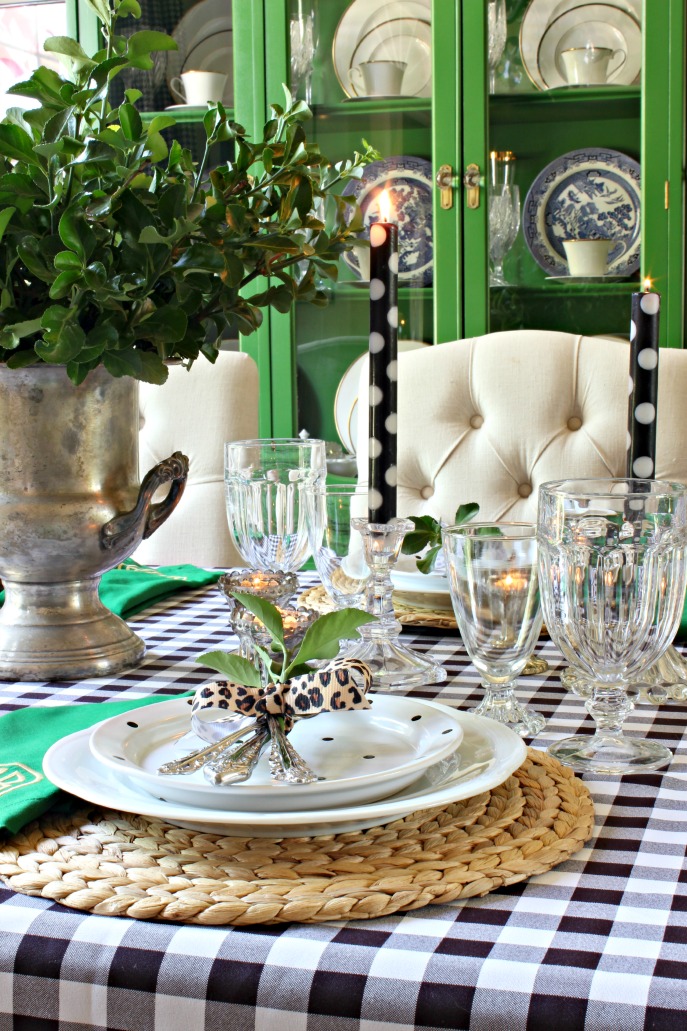
Table settings are kinda my “thing”, and I couldn’t resist setting a simple one to display my new tablecloth.


A few features I particularly enjoy on the Durathon Iron:
- It shuts off automatically for safety if left face-down, but not too quickly. When working on sewing projects with long lengths of fabric like this, it’s annoying when the iron shuts off after just a few seconds.
- It shuts off automatically after an allotted time period when left upright. I can’t tell you how many times I forget to unplug the iron! This gives me peace of mind that we’ll avoid a fire hazard.

- The weight is nice: heavy enough to press well, but not too heavy to lift and maneuver easily.
- I already mentioned it, but the steam feature is fabulous! It’s so quick and powerful.
- Finally, the nonstick soleplate effortlessly glides across the fabric.

With just a few clippings from the yard, some candles, woven placemats and my everyday white dishes, I’m ready in a flash to entertain.
Now, who is coming to dinner?

Jennifer is such an inspiration when it comes to home decor. Love her blog too.