

![]()
Corey Willis, the blogger behind Tiny Sidekick, is a former high school teacher who took her love for DIY projects and home design from an occasional hobby to a unique career. She is now a stay-at-home mom of two living in California, helping her many readers create a home they love on a reasonable budget. She can be found checking out her readers’ projects using the #inspiredbytinysidekick hashtag on Facebook, Google+, Twitter, Pinterest and Instagram.

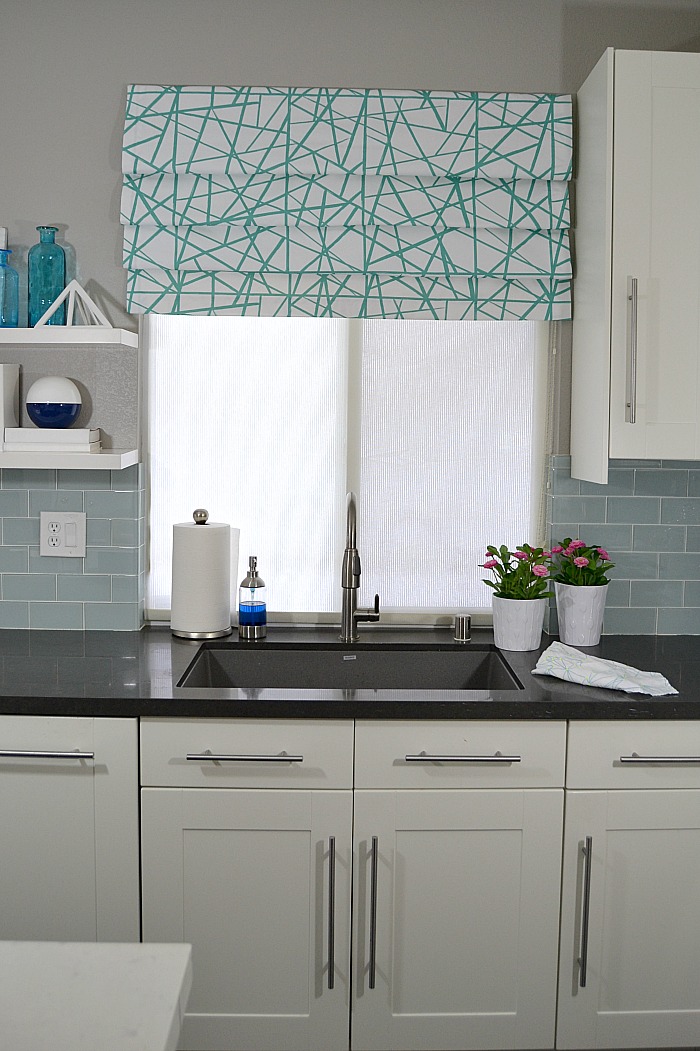
When we remodeled our kitchen almost 5 years ago, we moved right into our next big project and I only recently circled back around to put the finishing touches on the space. I lived with the unfinished little projects for so long I didn’t even realize what an impact adding a pop of color and pattern above the kitchen window would make. Even the hubs noticed!
I always knew I wanted to add something above this window, so when I found this fun fabric, it was just the push I needed to get it done. I wanted something a bit more modern and up-to-date than a traditional valance. Taking a cue from the many model homes popping up in my area, I thought a faux Roman shade was a perfect option.
Making a faux Roman shade isn’t difficult. In fact, it only involves sewing straight lines. It’s a great way to dress up a window, and, in my case, fill in a large empty space between the top of the cabinetry and the top of the window to make our kitchen feel complete.

To make a faux Roman shade, you will create 2 panels. The back piece will act as the lining and be the part that holds your shade in place. The front piece will be the faux Roman and have the folds on it.
Materials:
- Lining fabric
- Fabric (A home decor fabric works best for this. I used a heavy cotton twill.)
- Fabric scissors
- Durathon iron
- Sewing machine
- Matching thread
- Binder clips (optional)
- Straight pins
- 1” x 3” piece of wood. (The length will be the width of your window minus 3”.)
- Screws
- Electric drill
- Thumbtacks
- Level
Step 1: Make your back panel
Your finished back panel will be the width of your window and as long as you want your finished faux Roman shade to be, plus 5” for attaching it to the wall.
I hung my shade well above the top of my window to create the look of a larger window and to fill in the wall space between the top of my window and the top of my cabinets. The faux Roman only covers about 4” of my actual window.
Cut the lining fabric to be the width of your window, adding 4” for the seams, by the desired length of your completed shade, adding 5” for attaching it to the wall.
Fold each side in 1” and then again 1” and use the Durathon iron to press the seam flat. Run each side edge through the sewing machine to make a finished edge.

Step 2: Make your front panel (the faux Roman)
Your finished front panel should be the width of your window, plus 1” on each side.
Cut your fabric to be the width of your window, adding 8” for sides and seams. The length of this piece will depend on your folds. (I started with 2 yards of fabric and ended up cutting about 5” off at the end. Leave your fabric long until you figure out your folds.)
On each side edge (of the printed, good side) of your fabric, measure in 1” and make a mark, and then another 2” and make a mark.

Flip your fabric over, good side down. Fold your fabric in 1”, according to the marks you made, and press flat with your iron. Then fold in again at the next mark, and iron flat to create the side seams of your faux Roman shade. (These 2” thick seams make for a more professional look.)
Run your seams through the sewing machine. When you are finished, it will look like this.

Step 3: Put your faux Roman shade together
Lay your lining flat (good side down), and then lay your front panel on top of it (good side up.) Line up the top edge of both pieces, and ensure your lining panel is centered under your front panel, since it is narrower.
Secure the top edge of both pieces together using binder clips or pins.

Keeping in mind that you will need about 5” at the top of the panel to fold it over and attach it to the wall, start playing with your folds until you get the look you want.

You will want each fold to start under the last fold so no seams will show in the end.
As you play with the folds, you will want to make sure your lining panel stays flat and that each fold is even, creating a straight line across your fabric. It is easiest to get a general idea and then make one side perfect, take measurements and make marks for each fold, and then measure and mark down the other side to make them even.

Once you have the look you want, lift each fold up and pin it in place, making sure to grab the lining piece with your pin. Then mark a straight line across your fabric (on the underside of the fold) with a pencil.
Don’t worry about the bottom edge yet.

Step 4: Sew
Sew along the line of each pencil mark, starting and stopping just about ¼” in from the side seams of your front panel, so they won’t be visible when you hang your shade.
Be really careful here. You need to make sure the lining piece is flat and you are only catching one layer of the front panel with the lining. (If you sew both layers of the front panel together, you’ll lose the teardrop effect that makes the Roman shade popular.) To avoid this, you may want to pull your folds so they lay flat (which is why you pinned your fabric together.)
Step 5: Create a bottom hem
Once you have your folds permanently in place, finish off the bottom by folding it over the unfinished edge of the lining. You may need to cut off the excess fabric, but leave enough to fold it under and create a clean edge (about 2”, like we did with the side seams above.) Use your Durathon iron to press your seam, keeping it in place, then run it through your sewing machine.

Step 6: Hang your faux Roman shade
Cut a 1” x 3” piece of wood 3” shorter than the width of your window. Predrill a screw into one side of the wood, about every 10”. You don’t want the screws to go through the wood at this point, but you want them secure enough in the wood to make it easy to attach to the wall once you’re holding it in place.

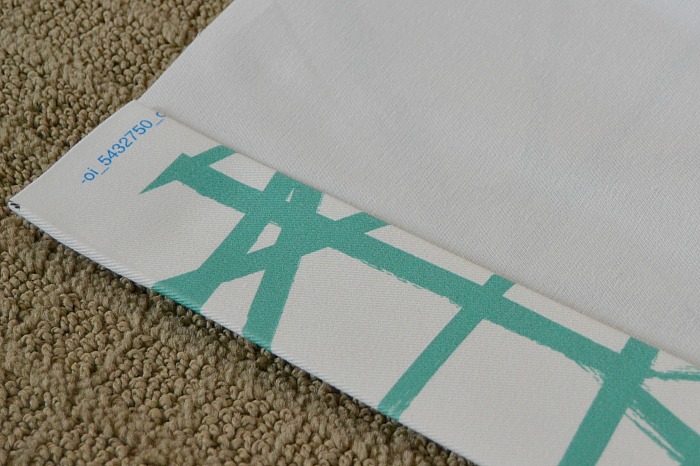
Lay out your finished faux Roman shade, lining side up, and make sure it is smooth. (See below.) Place the piece of wood along the top edge of the faux Roman (screw side down) and wrap the edge of the fabric around the wood. Use your thumbtacks to hold it in place.
It’s really important you double check to ensure the fabric is straight. If the top edge of your fabric isn’t perfectly straight with your folds, you can adjust it accordingly and repin it using the thumbtacks.

Once the fabric is even and ready, hold the shade in place and use a level to make sure it’s straight.
This part is a bit awkward. While holding the wood in place, get under the fabric and finish drilling the screws through the wood and into the wall. For stability, it’s best to do both ends first and the the middle screws last.

Done!

Tip: If your shade needs a little help staying against the wall at the edge of the window, lift up the fold and use a staple gun to hold it in place. If you used a heavy fabric, this probably won’t be an issue, but if your fabric is on the lighter side, it may need this to look more structured.
I’m definitely loving this finishing touch to my kitchen and love the fun pop of color it adds. Plus, that big, empty space above the window is finally gone!


This is my first time visit at here and i am genuinely impressed to read everthing at one place.
I am really eager to do this but am having some trouble finding the right fabric as I prefer the modern style as well. Do you mind if I ask where you purchased your fabric at?
Awesome!