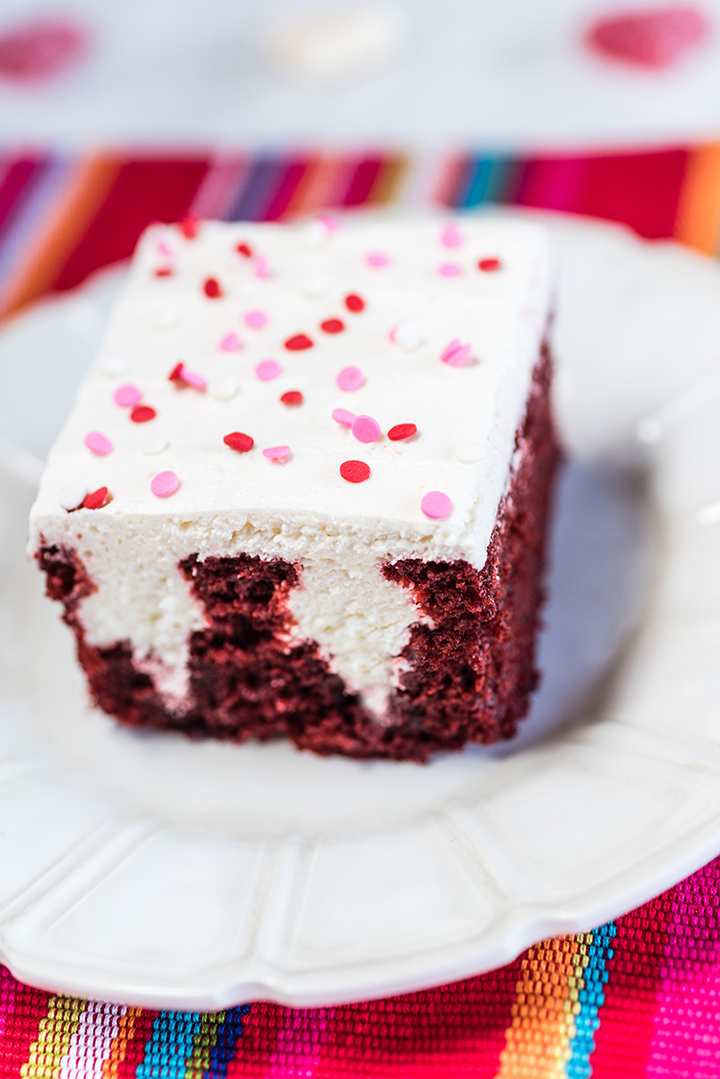
Red velvet cake has become synonymous with Valentine’s Day. The bright red cake is a wonderful addition to any Valentine’s Day party or date night. Not only is it delicious, it matches all your heart-shaped decorations.
Poke cake is an interactive cake that’s fun to make with your significant other during a night in or with the kids. Once the cake batter bakes in the oven, grab a long, wooden mixing spoon and poke holes in the cake with the blunt end of the spoon.
Use a spatula to spread the frosting, making sure it seeps down into the cake and settles in the holes.
Not only is this Red Velvet Poke Cake appealing to the eye, you get plenty of icing and cake in each and every bite. Top your poke cake with red, pink, or heart-shaped sprinkles for a festive Valentine’s Day dessert to share with your loves.
Red Velvet Poke Cake

Ingredients
Instructions
- Preheat oven to 350°F or 325°F for dark or nonstick coated pans. Spray a 13x9x2-inch baking pan with non-stick spray; set aside.
- In a medium bowl, sift together the flour, 1 1/4 cups sugar, cocoa powder, baking soda and salt; set aside.
- In a large measuring cup, mix together the buttermilk, food coloring, white vinegar and vanilla. Stir lightly until mixed.
- In a large mixer bowl with electric mixer on low speed, beat oil and eggs until well mixed. Add buttermilk mixture and beat until blended.
- Reduce speed to low and gradually add flour mixture. Beat until blended. Pour mixture into prepared pan.
- Bake until a toothpick inserted in center comes out clean, about 30 minutes. Immediately poke holes in the cake with handle of wooden spoon. Let cool.
- For filling/frosting, in mixer bowl on high speed, beat cream cheese and 1/3 cup sugar until smooth. Reduce speed to low and mix in whipped topping.
- Spread mixture over cooled cake, filling in poked holes. Smooth remaining mixture over cake. Refrigerate until chilled.

Paint the town red (or just your countertop) with this high-performance mixer. The Eclectrics® Stand Mixer makes mixing easy, so you have more time for your favorite part — showing off and sharing all your homemade treats.


Comments